
Artwork by Elizabeth Simons.
Sometimes we love the convenience of those pre-made, just-add-water, instant backpacking meals. At the end of a long day outside, it can be great to skip the dishes and still enjoy a tasty and filling dinner. Not to mention that just-add-water meals are often lighter-weight than traditional bulk rations, and require less fuel for cooking since you only need to boil water.
There’s no need to spend a fortune on pre-made meals. You can make your own instant backpacking “meal-in-a-bag” using items from your local grocery store!
Follow these steps and use your imagination to create your own easy breakfasts and dinners:
Step 1: Choose Your Carbs
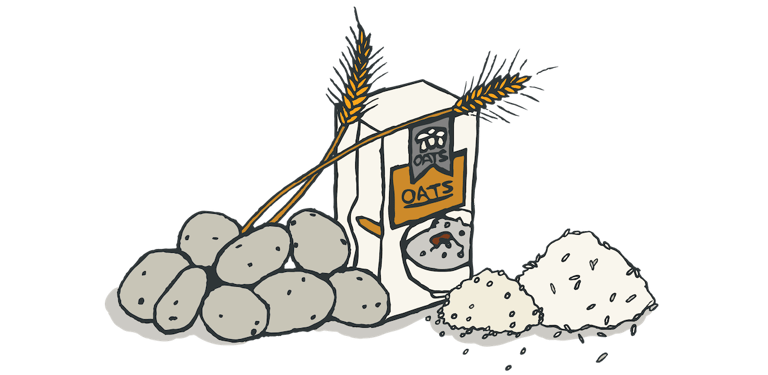
Grains and starchy vegetables are a great meal base because they are are high in carbohydrates, which are most easily converted to energy to fuel your adventures. These should form the bottom of your backcountry food pyramid.
- Instant couscous - Grocery stores have a ton of options, and Near East brand is a great option that will rehydrate without boiling.
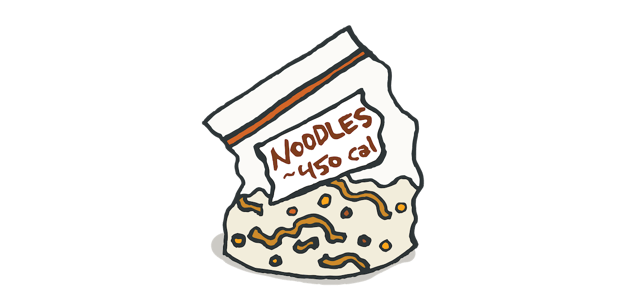
- Ramen noodles - Will rehydrate with boiling water after a few minutes of soaking!
- Instant rice - Make sure it is truly instant rice, which is actually cooked and dehydrated rice.
- Instant mashed potatoes or hash browns
- Thin rice noodles
- Bulgur
- Instant oatmeal - Not just for breakfast anymore! Oatmeal can be the base of savory dinners, too.
- Instant grits
- Granola
- And many more! Use your imagination!
Step 2: Choose Your Veggies and Protein

These add texture, variety, and vitamins and minerals to your meals. Nuts, seeds, and beans provide a source of protein, healthy fats, and fiber. Remember, animal proteins can be a nice supplement to backcountry meals, but you don’t need them every day.
- Nuts and seeds
- Freeze dried or dried fruits/veggies
- Freeze dried or dried meats
- Dehydrated beans or lentils
- Bacon bits
- Pepperoni or summer sausage
- Textured vegetable protein (TVP)
- Tuna or chicken packets
- Cheese (dried parmesan or other hard cheese)
Step 3: Choose Your Sauce or Seasoning
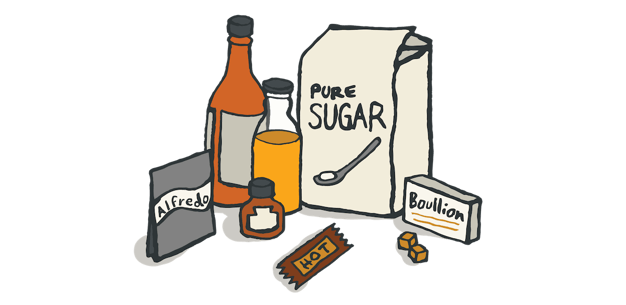
Again, the grocery store is your friend! You can find a lot of dried sauce mixes in the spice aisle. Extra sugar or fat (in the form of milk or olive oil) can make food taste better while adding extra calories to a meal.
- Alfredo sauce
- Tomato sauce
- Cheese sauce
- Pesto sauce
- Gravy
- Peanut butter or other nut butters
- Soy sauce
- Bouillon cubes
- Spices
- Curry powder
- Hot sauce
- Sugar
- Nido (full-fat powdered milk)
- Olive oil
Combine all of your ingredients in a quart-sized, freezer bag with a zip top. Wet items, such as peanut butter, oil, tuna, etc., should be kept separate until you are ready to cook your meal. These can be stored inside in a smaller baggie or in a separate container.
When you’re ready to cook, just boil a pot of water and pour enough into your meal to rehydrate. Remember, you can always add more water, but you can’t take it out! You can pour water directly into the freezer bag or empty the contents into your bowl before rehydrating. Some items, like ramen noodles or other pasta, will require a few minutes to sit and soften. You can seal the top of the bag and slip it inside your puffy jacket to keep it warm while you wait!
It’s also a good idea to keep a stash of olive oil, Nido, extra cheese, or nuts separate from your prepared meals so that you can easily add more calories if you are extra hungry or had a particularly long day! I’d also recommend investing in an extra-long spoon if you are planning on eating straight from the bag—it’s much easier!
Things to consider:
- Calories per ounce - are you packing a lot of heavy foods that aren’t very caloric? If so, you may want to reconsider your choices to lighten your load without losing any nutrition.
- Will it stay fresh?
- Will it cook or rehydrate with only boiling water?
- Will it taste good?
Some of Our Favorite Combos:
- Parmesan couscous + freeze dried veggies + tuna packet + olive oil
- Ramen noodles + cheese + powdered rosa sauce
- Grits + gravy + bacon bits + cheese
- Oatmeal + walnuts + freeze dried bananas + powdered milk
- Rice noodles + peanut butter + soy sauce + sesame seeds
- Oatmeal + cinnamon + sugar + freeze-dried strawberries + peanut butter
Now it's time to eat and enjoy! (Find tips for planning a full camping menu here.)
Practice your backcountry cooking skills on one of NOLS' Backpacking Trips or other NOLS Expeditions.