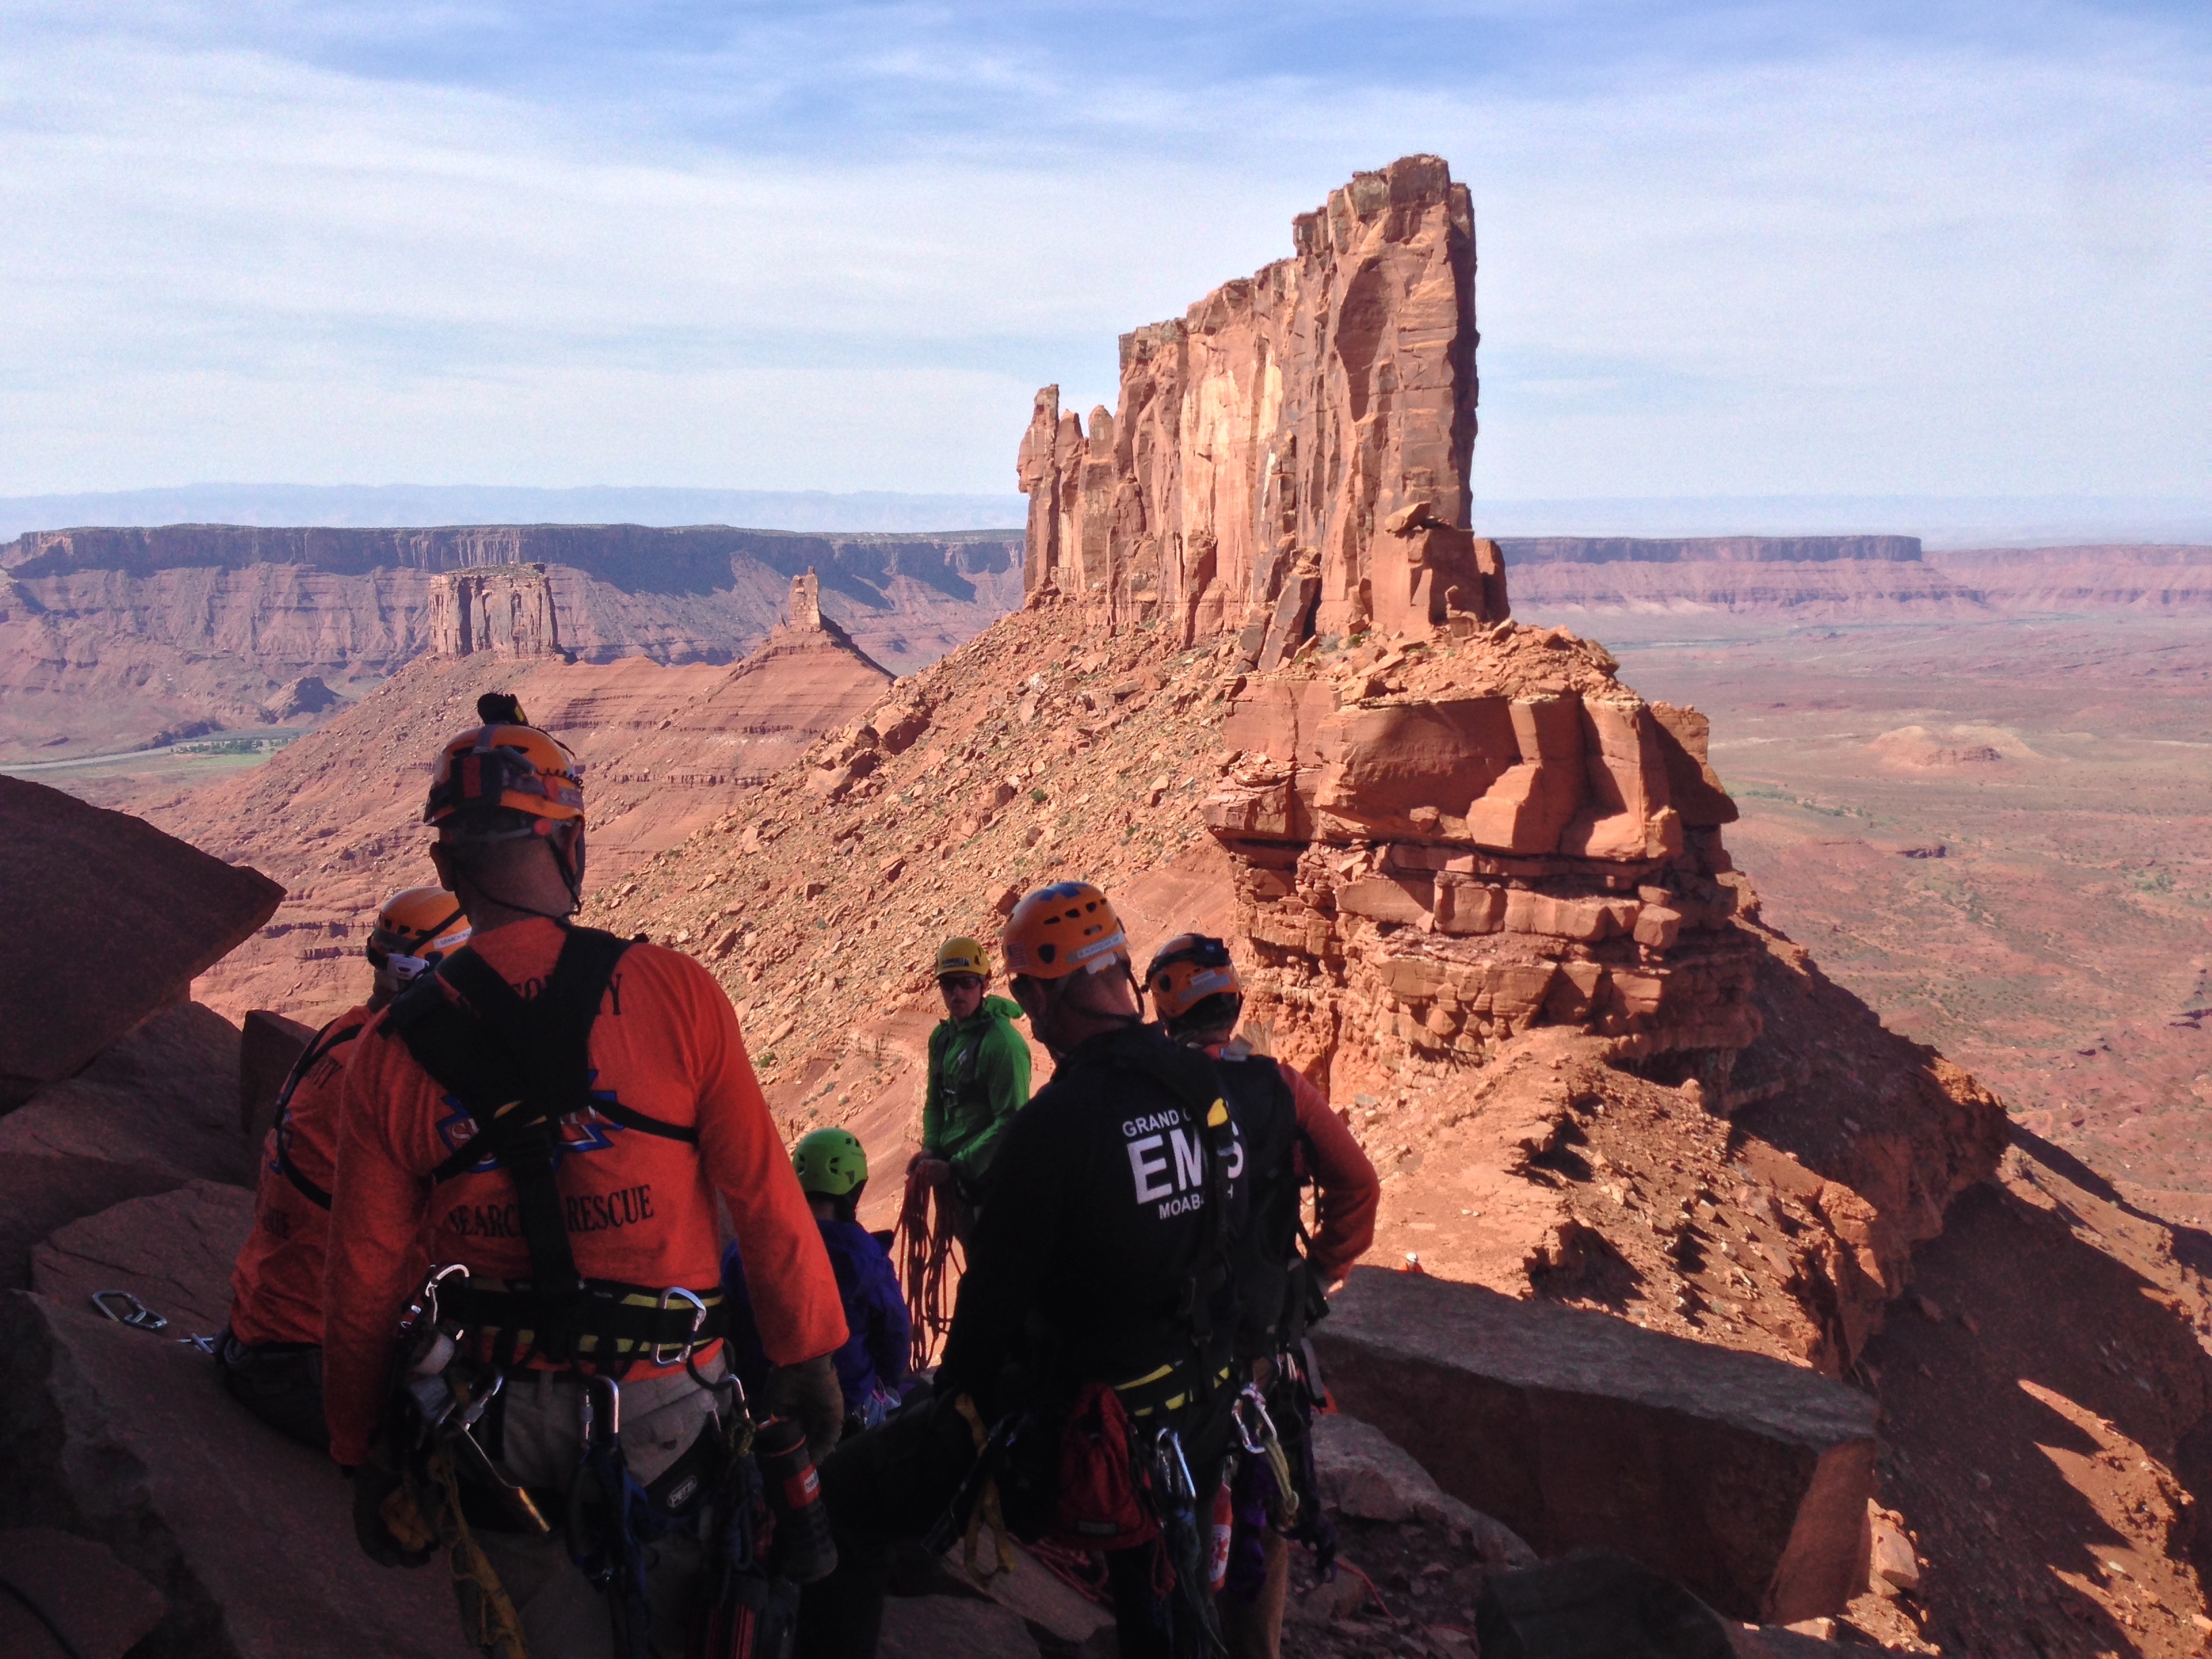
The rescue team. Photo courtesy of Jake Blackwelder.
The 911 call: A climber was stuck in a crack on a classic multi-pitch trad route at a well-known sandstone climbing area near Moab, Utah. The incident happened near the top of a large chimney, a crack wide enough to fit a climber’s entire body into. The climber was about 100 feet from the ground and 40 feet below the pitch anchor, the next opportunity to attach securely to the wall.
My wilderness rescue team, consisting of myself, another Wilderness EMT, and three Rope Rescue Technicians, were the ones to receive the call and respond to the incident.
First, we had to reach the patient.
I rescue a lot of people in Moab’s backcountry and many of those rescues, like this one, require a lot of time just getting to the patient. As I’m hiking, boating, climbing, or riding on an ATV to an incident, I find it helpful to think about all the steps required to complete a sound assessment and what it may take to move the patient to the ambulance. By the time I reach the patient, I can focus on assessment and treatment and already have a good idea what it’s going to take to complete the rescue.
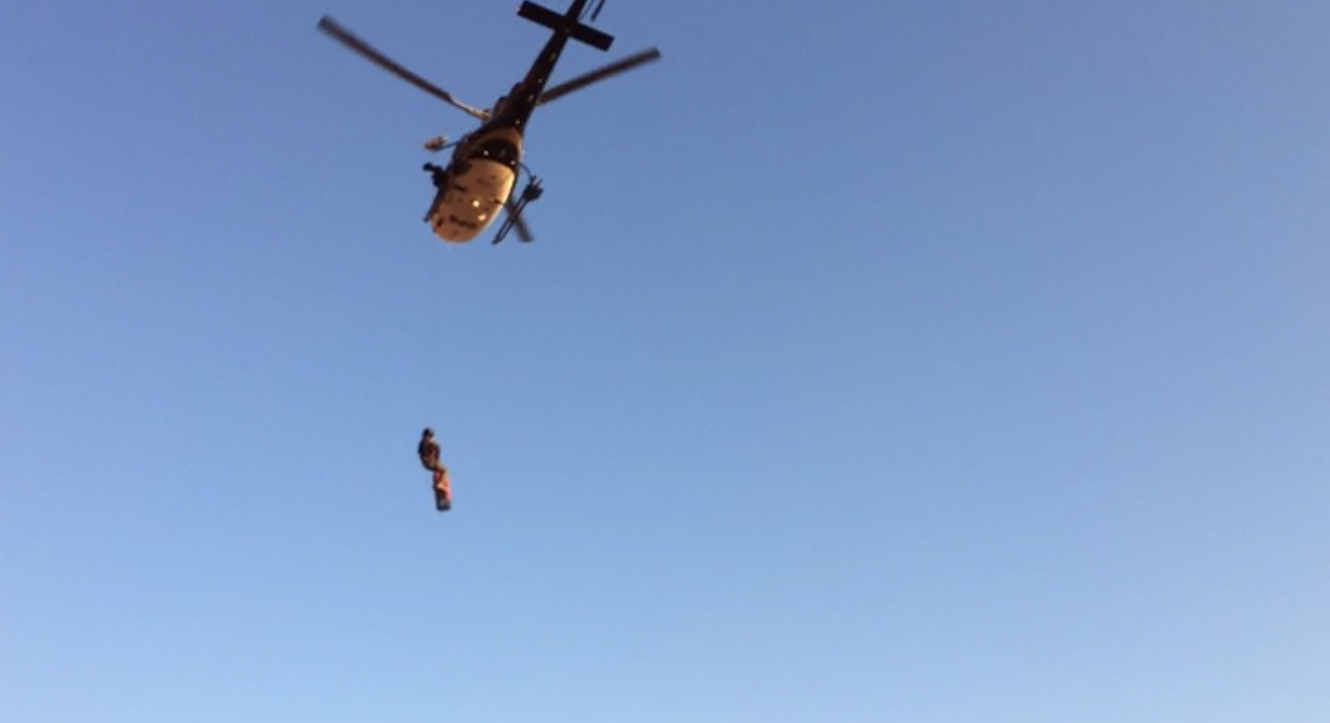
For this rescue, the hike to the climbing route was steep and took over an hour. Our packs were heavy with medical gear and rescue equipment. To save time, we discussed using a helicopter, but strong and gusty winds made this option unsafe. We estimated that by the time our team reached the patient by foot and established a safe working area, she would have been stuck for about 6 hours.
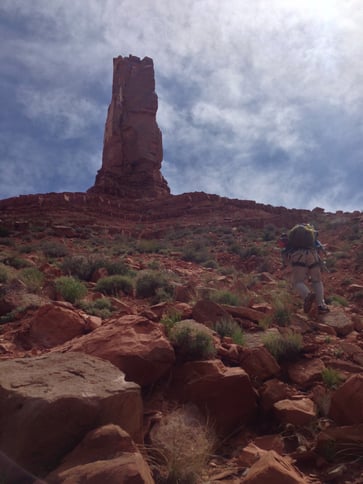 Hiking toward the patient. Photo courtesy of Jake Blackwelder.
As I started to think about this evacuation while we were hiking, one aspect I considered was mobility.
If the patient was unable to walk, she would have to be carried down the long, steep route to the trailhead. Due to the terrain, this would involve a tedious, multi-hour litter carry with several steep and low-angle lowering systems. As we hiked to the site, we requested a 12-person technical litter team to assist with the evacuation.
Once my team arrived at the start of the climbing route, the rope rescue technicians hiked to the top to secure a fixed rope anchored above the stuck climber. I ascended the rope from the ground using mechanical ascenders and secured myself on a large ledge just above her.
The climber had gotten her left knee stuck in a wide crack after attempting what's called a “knee jam.” Other climbers on the route had tried a series of unsuccessful tactics to free her—I even saw a copious amount of olive oil smeared on the wall that had been used to lubricate the patient’s leg.
Due to the small space where the patient was trapped, access to her was limited. I eventually maneuvered on my rope to a place where I could begin my patient assessment.
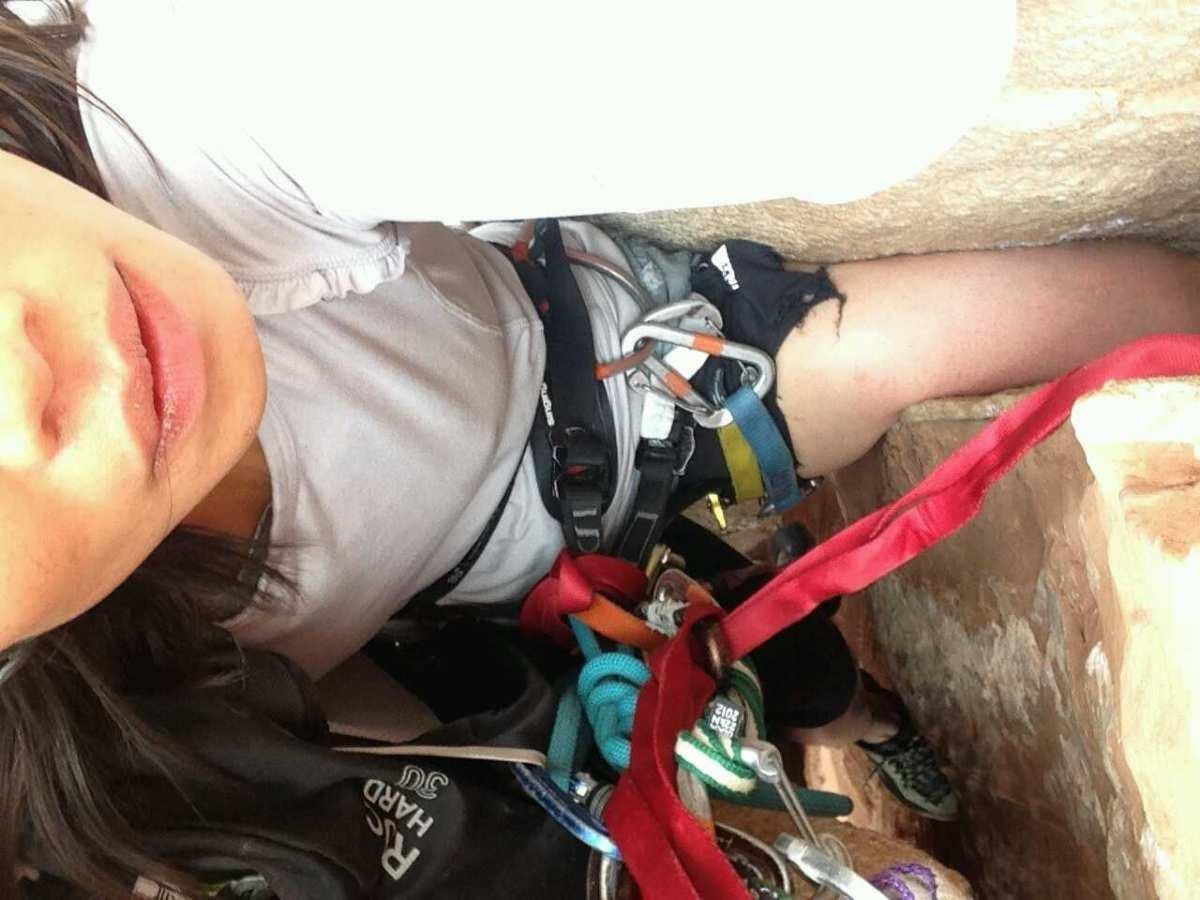
A view of the patient's leg while still stuck. Photo courtesy of Jake Blackwelder.
Meanwhile, the other members of my team started building a hoist system. Since I didn’t have to participate in rigging rope systems, I was able to focus solely on providing medical care, something I appreciate about working on a well-prepared team.
In my assessment and head-to-toe exam, I found that, although we were all in a precarious place, the scene was safe. The patient was a 28-year-old female who was alert with intact airway, breathing, and circulation (ABCs) and a chief complaint of pain, numbness, and tingling in her left leg. There was no evidence of high-energy trauma and she denied any head, neck, or back pain. Her circulation, sensation and motion (CSMs) were intact in all other extremities. Her vitals were within normal limits with the only relevant history that she easily gets anxious.
I was concerned that a tourniquet-like-effect was happening on the patient’s left leg, which was stuck in the crack. Additional concerns that I noted were the possibilities of elevated anxiety due to the tight space of the incident, hypothermia, and, since it was evening, the complications of darkness while in a vertical environment. I administered medication to manage both pain and anxiety.
Using the anchor system constructed by my team, we made another attempt to free the leg. It was successful!
By hoisting the patient simultaneously from different directions, the rope rescue technicians were able to pull the patient in such a way that her leg finally slipped out of the crack.
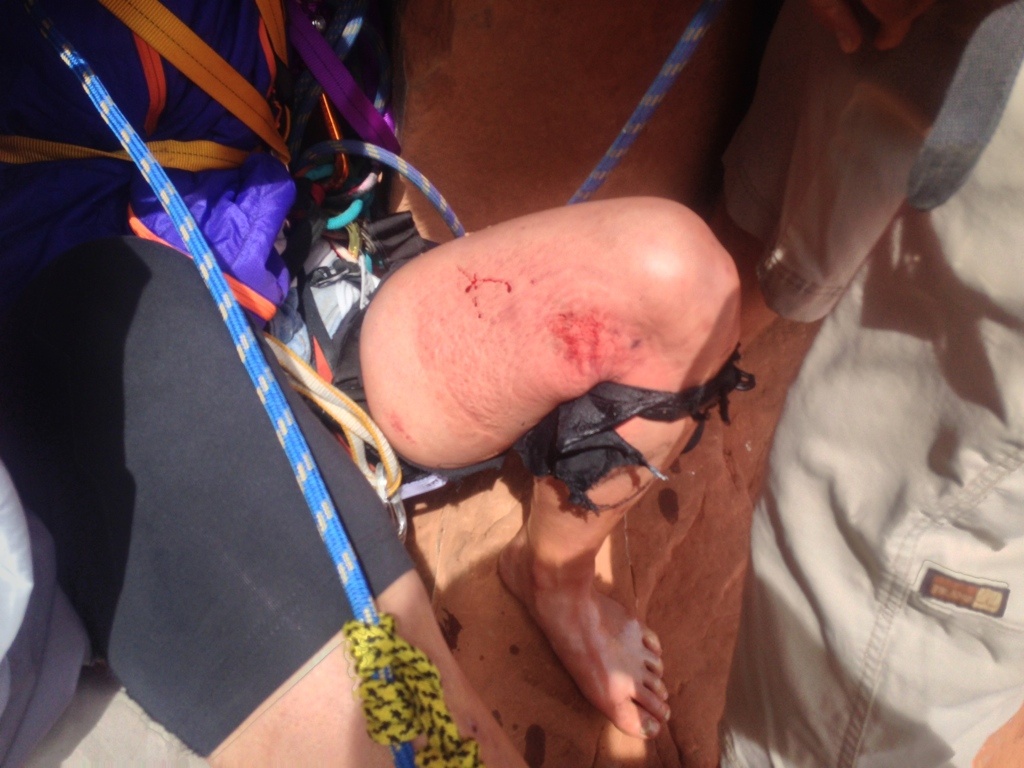
The patient's leg after being released. Photo courtesy of Jake Blackwelder.
A follow-up assessment revealed good CSMs in the leg. There were abrasions on both sides of the patient's knee and marked swelling when compared to the uninjured knee. Her mental status hadn’t changed and her vitals remained within normal limits. The patient’s chief complaint was still pain in her left knee, but without the numbness and tingling.
Now that the patient was free and the initial assessment was complete, it was time to get to the ground and think about how we’d get to the trailhead.
I rappelled to the ground, followed by the patient and a rescue technician, who were lowered together. Once there, we discussed what to do next.
Our thinking was that if the patient’s knee was usable, she might be able to walk out with support. But if her knee was unusable, she would have to be evacuated via litter carry. So, we decided the next step was to conduct a usability test on her leg.
Notes on Usability Tests
The usability test is an assessment tool that can be helpful for handling the ambiguity of minor musculoskeletal injuries. Like reduction of dislocations, the usability test is a concept unique to wilderness medicine that has real and practical applications, significantly affecting the length, difficulty, and associated risk of evacuations for patients and rescuers.
How to Perform a Usability Test
- Have the patient actively move the affected bone or joint through its full range of motion.
- Have the patient relax while you (the rescuer) move the affected bone or joint through the same range of motion.
- Assist the patient in bearing weight onto the injury. The goal is to assess just how much the patient can weight, or use, the injured limb.
To “pass” this test, the patient and rescuer movements shouldn’t cause unbearable pain and the patient should be able to use the injury to some degree.
If the patient passes the test, support the injury and the patient. This could involve placing a supporting wrap on the injury or taking weight out of the patient’s backpack for the hike to the trailhead.
A “fail” of the usability test results from pain beyond what the patient is able to tolerate during any phase of the test and/or the inability to bear weight or use the extremity. A failed usability test should direct you to splint the injury.
For this patient, the usability assessment revealed that she was able to bear much of her weight on the injured knee. We deemed the injury usable and supported her knee using a tension bandage (ACE wrap).
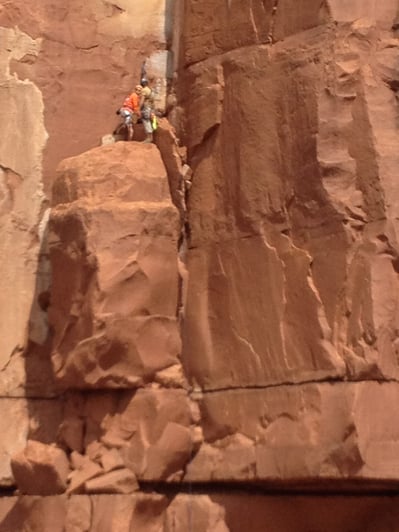 Near the rescue site. Photo courtesy of Jake Blackwelder.
We began helping the patient down the trail, and she was able to hike out to the trailhead without further incident. I was glad this evacuation didn’t require a long and technical litter carry. The usability assessment helped save a lot of time and resources.
Prepare for the unexpected: Build your rescue skills with NOLS.
Interested in Rock Climbing Courses?
Overcome challenges like being stuck on a climbing route with confidence and competence through NOLS' Rock Climbing Courses. Our experienced instructors will equip you with the skills to tackle real-life scenarios, ensuring you can navigate any obstacle. Enroll now and be prepared for any climbing situation.
- Rock Rescue
- First Aid
- Skills
- Rock Climbing
- Scenario
- Wilderness Medicine
- Stories
- Illness & Injuries
- Wilderness Medicine Stories
- Leadership
Written By
Jake Blackwelder
Jake Blackwelder has been teaching for NOLS Wilderness Medicine since 2010. He is a full-time Flight Paramedic and volunteers for EMS and Search and Rescue in Moab, Utah. He spends the rest of his time helping his wife raise two great kids and adventuring in the majestic Moab landscape.


