Taking photos in the wilderness is a great way to capture memories you will hold for a lifetime. There’s nothing better than coming home with a camera full of your favorite moments—laughing around the campsite with friends, the delicious pizza you managed to perfect (albeit the third attempt), and the breathtaking vistas of the alpenglow on Bastion Peak in the Wind River Range.
The only issue is, when you return home the photos look absolutely nothing like what your eyes experienced! They sometimes have a completely whited-out sky, a completely dark foreground, or a milky grey film to your image (referred to as being “flat”). This usually results in deleting about one in every three photos, which is not ideal.
Here are a few pointers about how to best capture and enhance your photos to help make the memories seem a bit more, well, memorable!

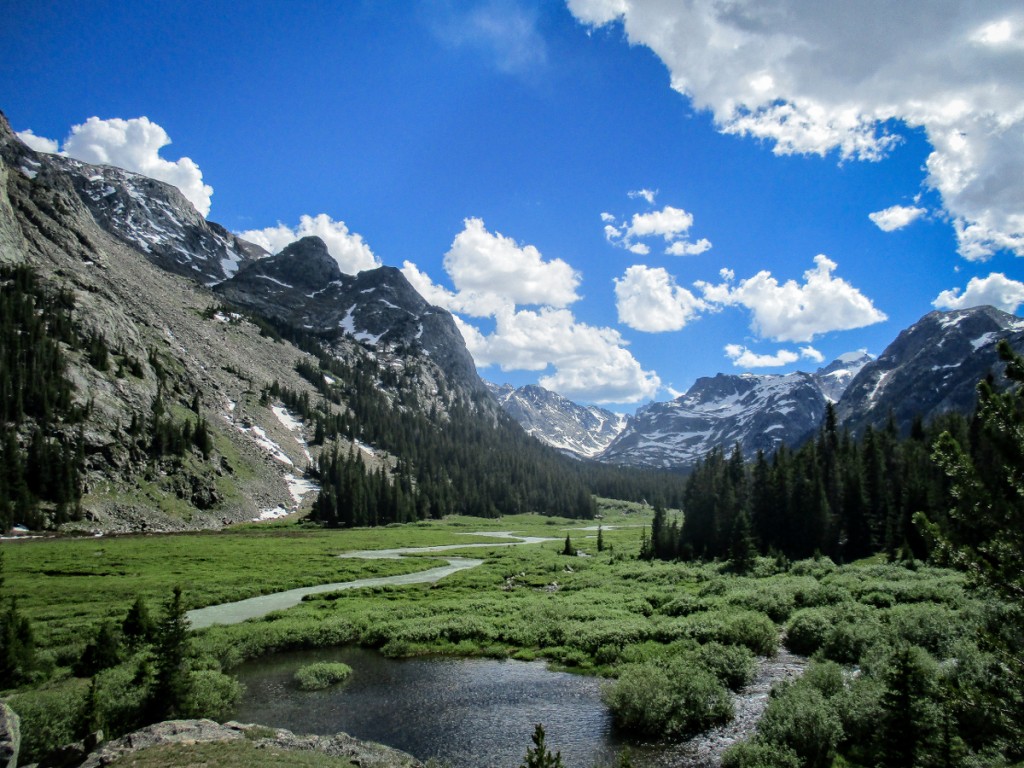
Intersection of Dinwoody and Klondike Creek. Photo by Will Harrison.
1. Shoot to be average
While this may be horrible life advice, it ends up working fairly well for photographers! When setting up your basic point-and-shoot camera, aim the camera first at something in your scene that isn’t too bright, but isn’t too dark. That way, when you take the image, your camera will be able to capture the greatest range of light without resulting in pure-white skies or dark foregrounds.
To do this, simply aim your camera at the middle point, and hold the shutter (the button that takes the photo) halfway down, then adjust your camera to capture what you want in your photo! This method is called an “exposure locking,” and can also be done on a smart phone by holding your finger on the middle point until the phone says “AE/Exposure Lock”.

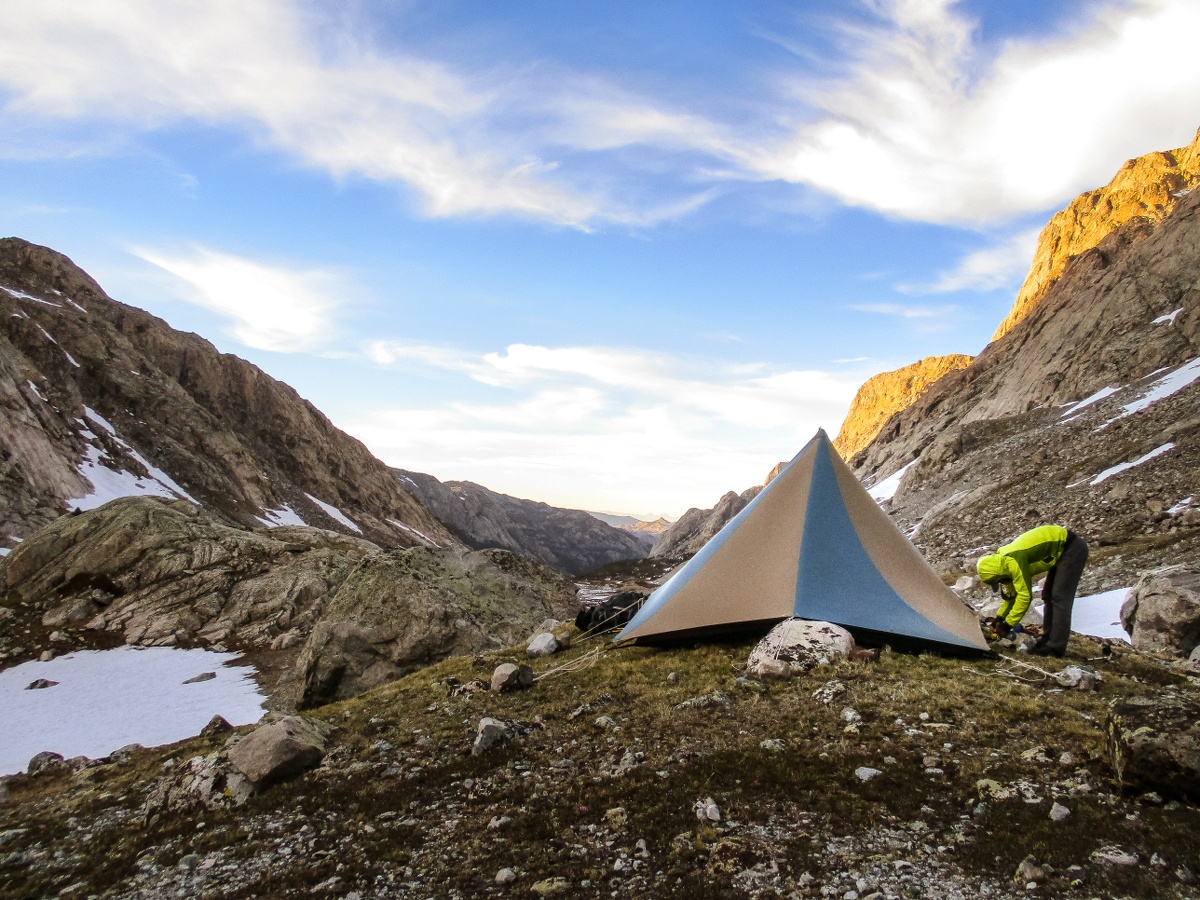
Bastion Peak at Dusk. Photo by Will Harrison.
2. Adjust your exposure and brightness
With your properly exposed images, you can load your photos into your computer (or review them on your smart phone). On the device, there are some simple ways to help adjust your photos to make them have more aesthetic and truthful quality. Within your basic photo program or app, when you adjust a photo there is a slider called “exposure” (sometimes called “brightness”). Simply put, exposure helps to change the amount of light in your image. You can use the slider to help achieve the right amount of light for your image’s subject, and help to give your image a little more “wow” factor!
3. Use contrast and saturation
The last thing you can do to really make your photos stand out is adjust the saturation and contrast, which are two other sliders that are common to almost all photo programs.
Contrast will help to slightly darken your shadows and brighten your highlights, creating more harsh lines between the shadows and highlights in your image. This will make your photos “pop” and really give texture to the image.
Saturation is how much color is in your image. By adding a slight amount of saturation, you’ll really see the colors in your images gain deep and rich tones, making them seem more like what our eyes see. Be careful not to go too far with these, however, or else your image will become less and less natural-looking!
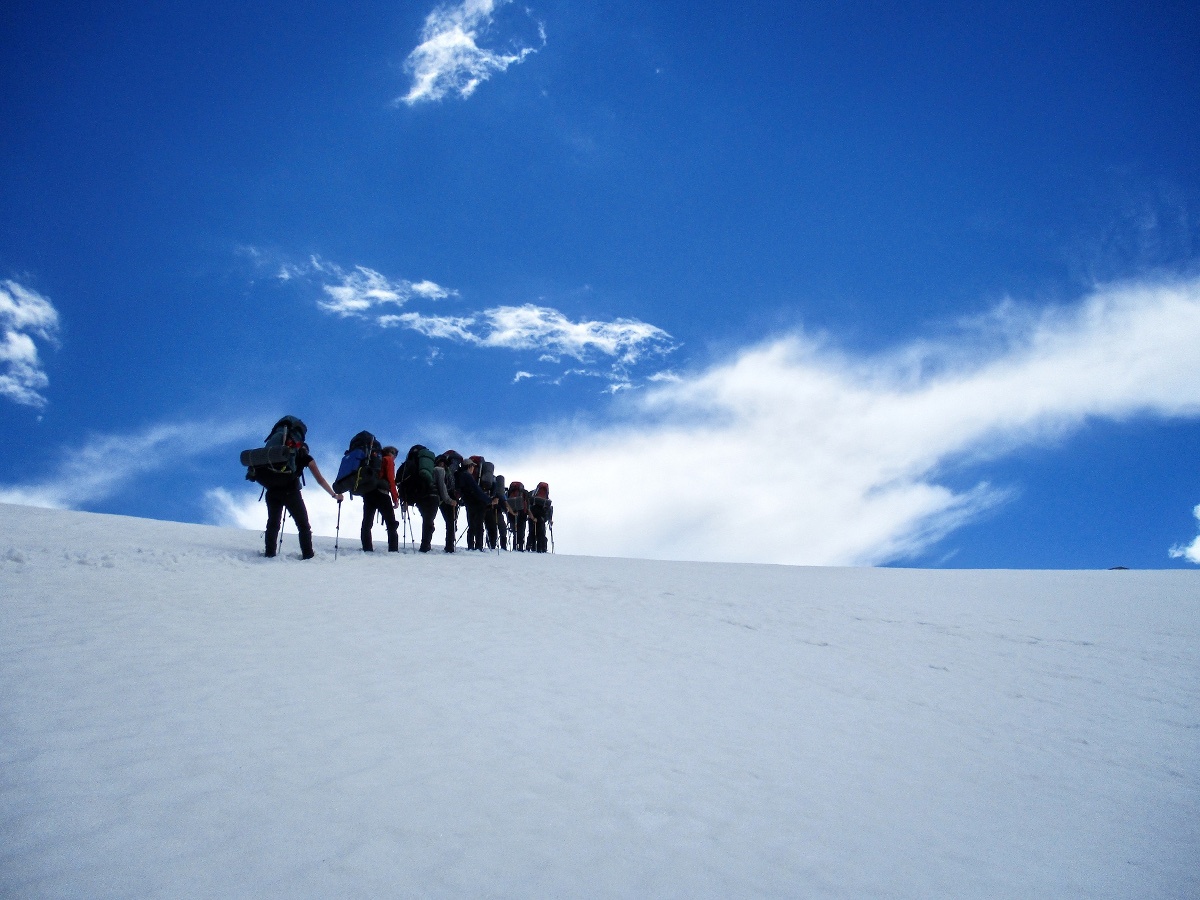
Here’s a before/after image I took on my recent NOLS Wind River Mountaineering course that I edited using only these three tools!

Our team climbing up from Bomber Lake to Goat Flat. Photo by Will Harrison.
While using these tips to take some epic photos, remember that safety is always first. No photo is ever worth compromising your or others’ safety! Additionally, sacrificing your Leave No Trace principles by going off-trail or chasing wildlife is never a good idea. This can stress ecosystems and cause serious ecological damage, which will rob future visitors of experiencing those stellar landscapes and wildlife.
If you snag some seriously awesome photos on a NOLS trip and want to share, you can submit them here. Happy photo-taking!
Written By
Will Harrison
Will Harrison is a film student at Florida State University, and a graduate of Wind River Mountaineering and Wilderness First Aid courses. He enjoys landscape photography, backpacking, mountaineering, and running! Follow Will on Instagram at @will_harrison


