An important part of managing emergencies in the backcountry is coming up with first aid solutions using the supplies you have on hand. Knowing how to make a homemade, or improvised, splint to immobilize an injured arm, wrist, finger, or a suspected broken leg is a key wilderness first aid skill.
Many types of splints can be constructed for various extremities but they should all have these qualities:
- Be rigid and support the injury
- Pad and immobilize the extremity
- Insulate from the cold
- Be lightweight to make transporting the patient easier
- Allow access to feet or hands to check circulation
These 7 common backcountry items, which may already be in your pack, can be used when making your improvised splint:
A Puffy Jacket or Base layers

Use your puffy jacket or the base layers you packed for padding in an improvised splint. Small base layers like socks work great rolled up to hold fingers in a position of function. Larger base layers, like long sleeved shirts and scarves, can work well as slings for upper body splints. Remember not to sacrifice the layers you need to stay warm, to avoid becoming a part of the problem.
Sticks or Trekking Poles

Create rigidity for your splint with trekking poles. If they aren't available, a sturdy stick or branch makes a great alternative tool for a rigid splint.
Camping Mattresses or Sleeping Pads
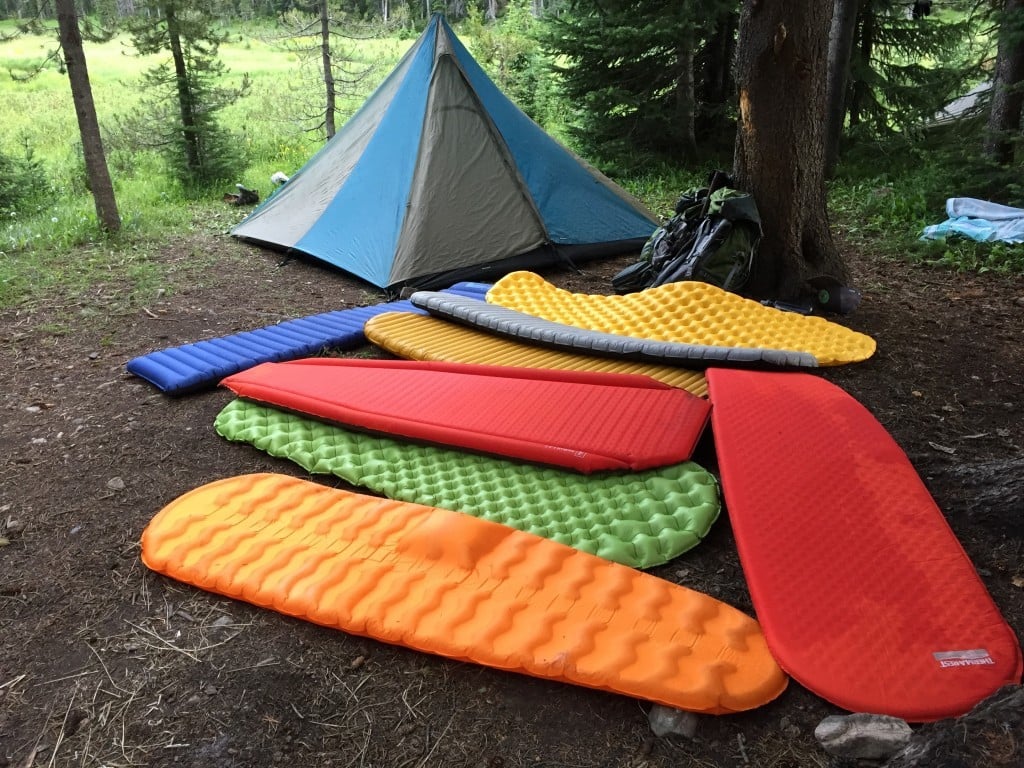
When deflated just enough to become maneuverable, camping mattresses and sleeping pads are great for providing stability, immobilization, and padding. Be sure to leave extremities exposed to allow for CSMs (circulation, sensation, and movement) to be easily monitored. Loosely place socks, mittens, or hat over fingers or toes if it’s chilly out.
Tarp or Ground Cloth
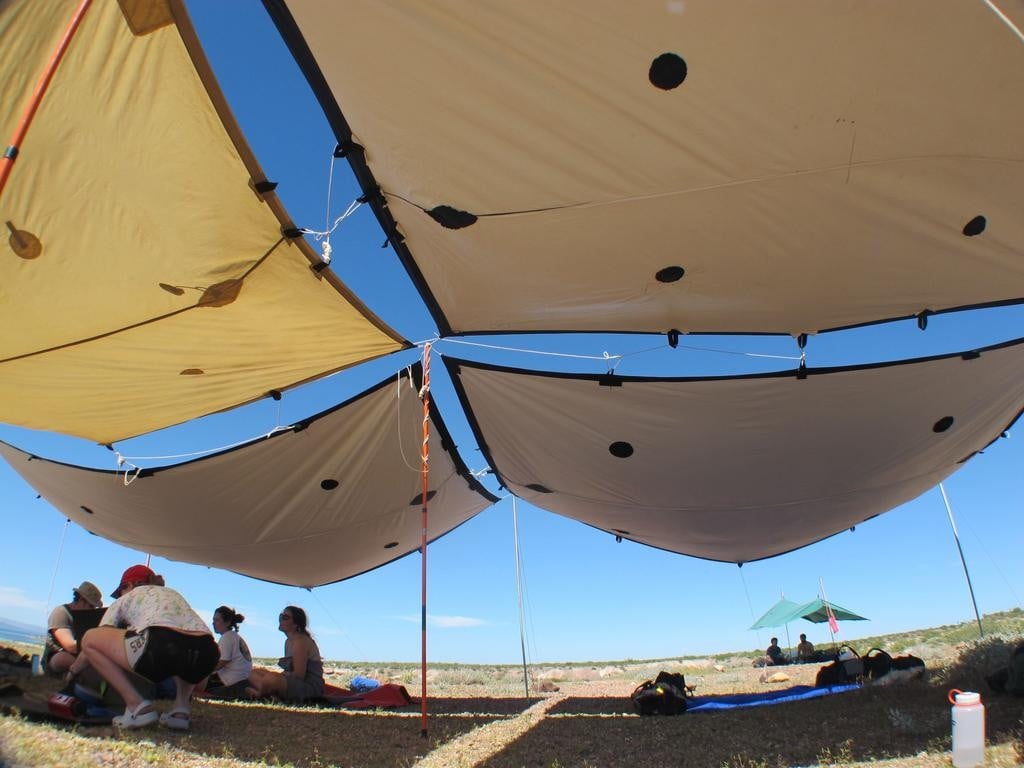
Large sheets of material, such as the NOLS Thelma Fly, tarps, or ground cloths, work great to wrap a splint into one large, svelte package.
Cord or Rope
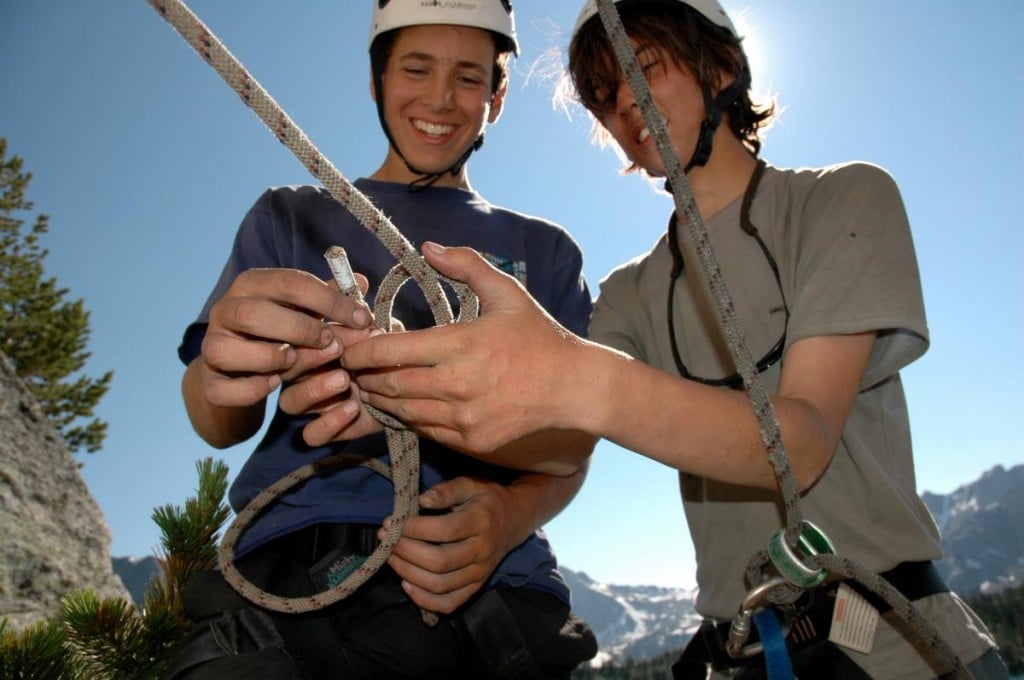
Secure an improvised splint with nylon cord or rope you brought along. Remember to tie secure bows, not tight knots, so that the splint is easily adjustable and doesn’t create pressure points for your patient.
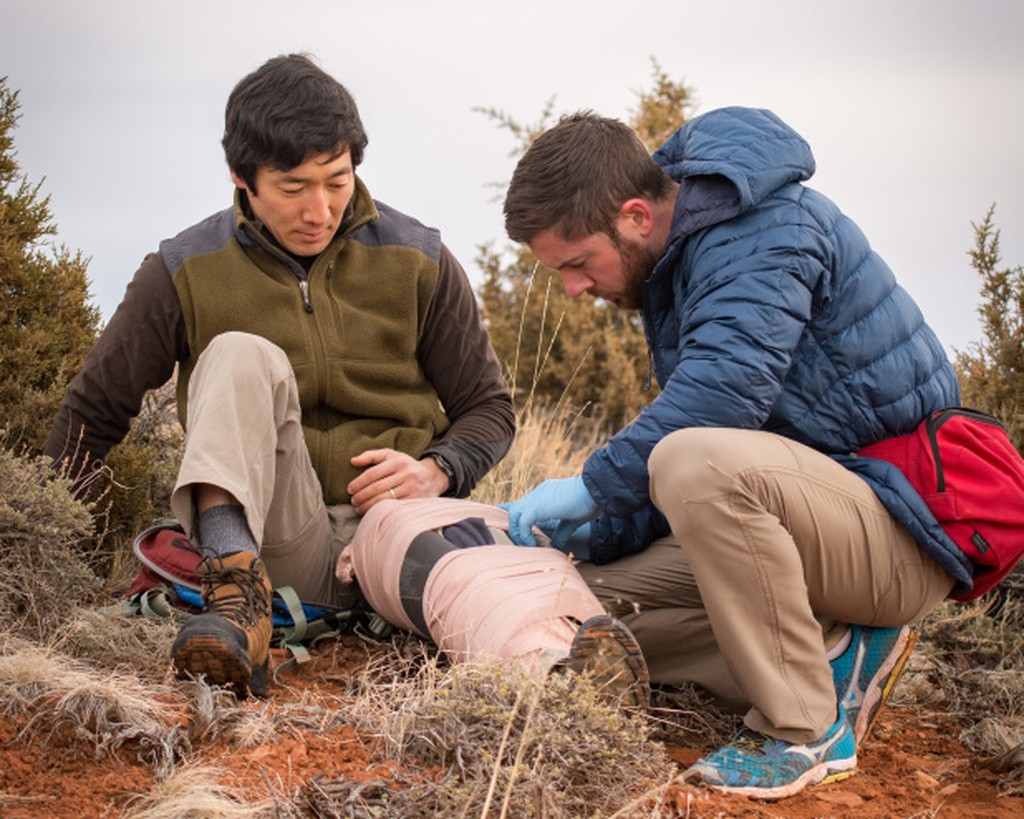
ACE Wrap
Photo by Jared Steinman.
A small and easy-to-pack essential, ACE wrap is ideal for compressing and packaging a splint.
Snacks
A hungry patient does not equal a happy patient. Boost morale with tasty snacks and make your patient as comfortable as possible.