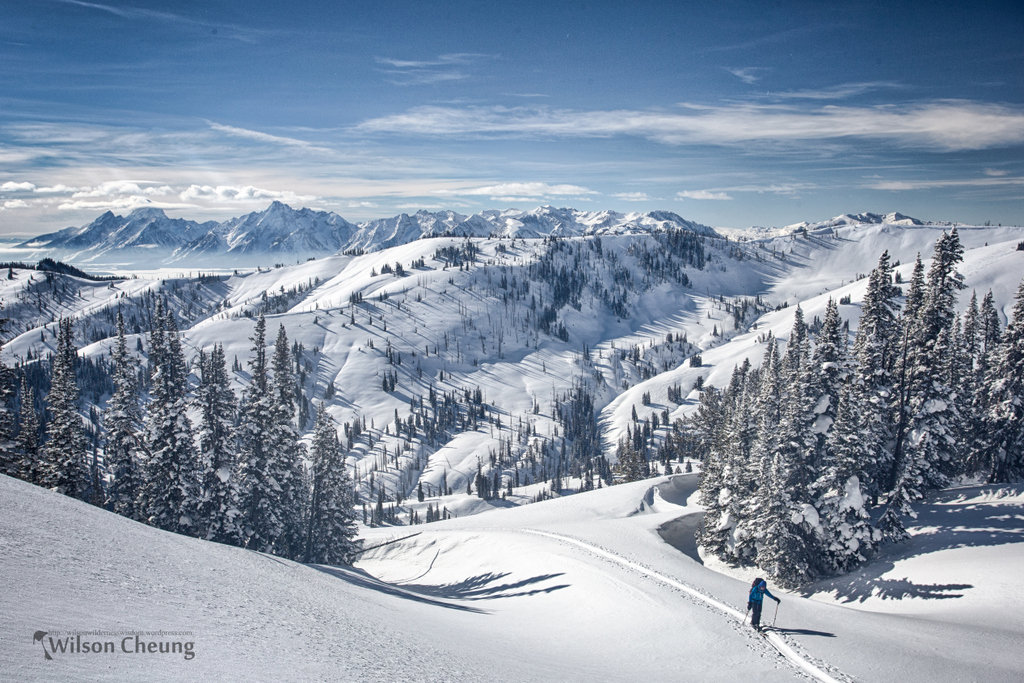
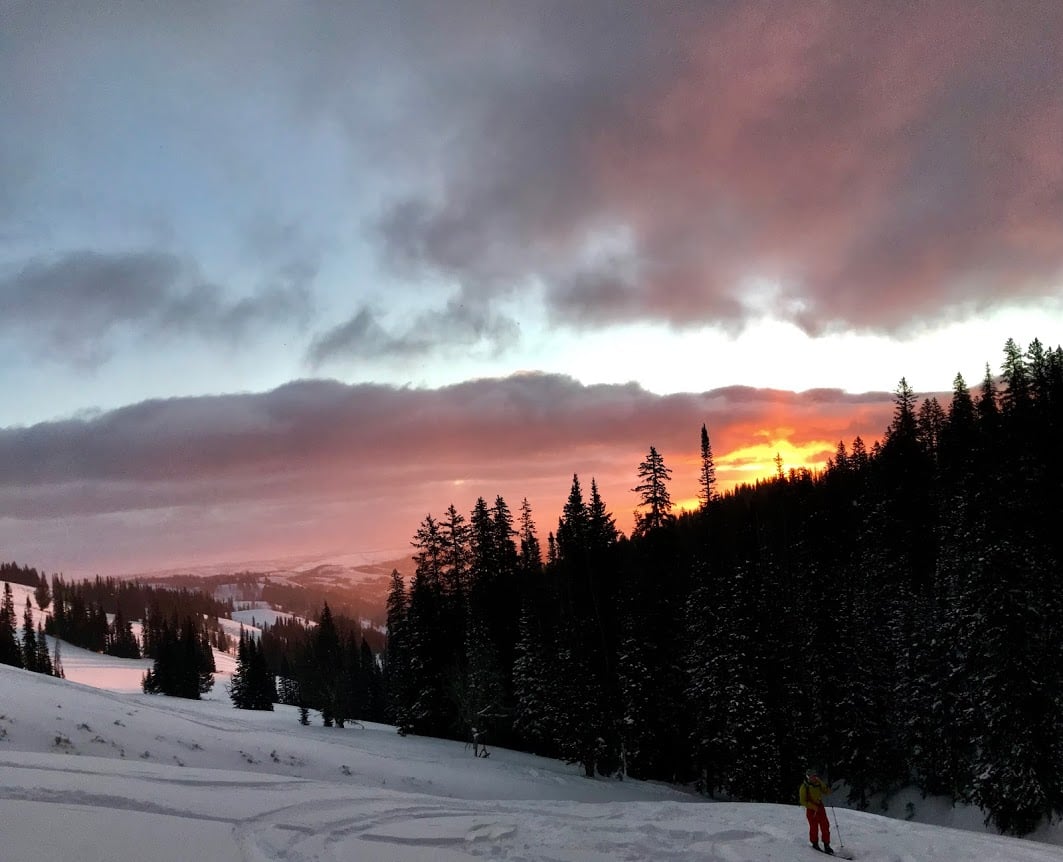
Winter is in full swing in the northern hemisphere and snow camping is in the forecast. People who regularly camp in below-freezing temperatures and piles of snow know it has numerous advantages over warm-weather camping. That’s right, advantages.
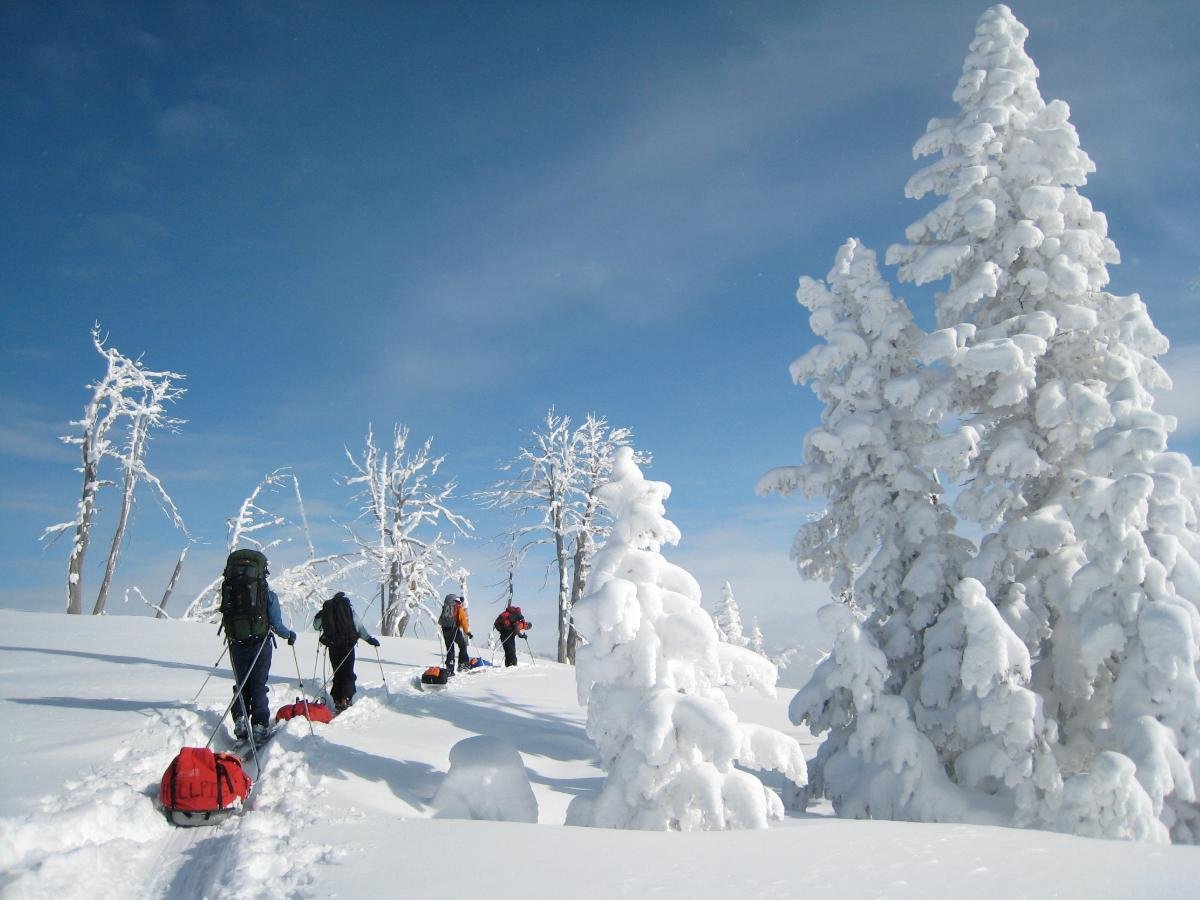
What are these advantages? First, you can backcountry ski to your campsite instead of hike—you’ll be amazed by how much distance you can quickly cover. Next, you can pull the heaviest of your gear on a sled behind you (attached to your body via a waist belt) instead of carrying it all in a pack on your back. Also, you can bring along feasts for days because there is no risk of food spoiling in temperatures colder than your home's freezer.
The biggest advantage of all, however, is that you can build a sturdy, insulated, wind-proof snow shelter and leave your floppy tent at home. They’re also a lot of fun to make.
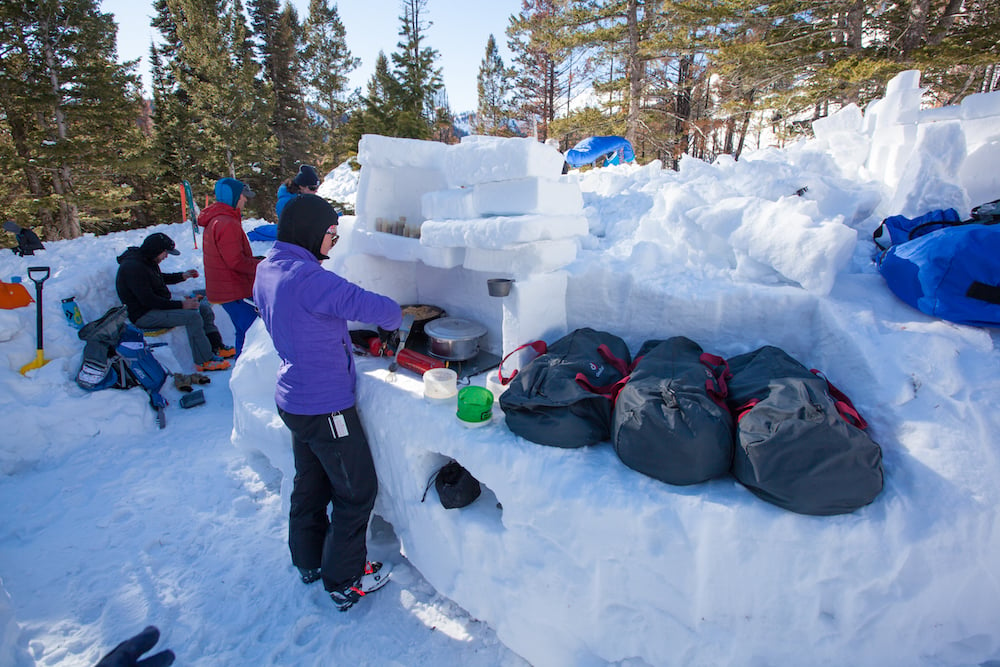
There are multiple types of snow shelters you can create: snow caves, digloos, igloos, and quinzhees. But use your imagination—if the snow is deep you can easily create kitchens, tables, and couches for outdoor gatherings. You can even create a lodge, if you have the time, energy, and a lot of snow at your disposal.
Whatever structure(s) you decide to build, give yourself at least half a day to develop your snowy camp. This will be your base for a week or more, as you ski, snowshoe, splitboard, and enjoy the winter wonderland. You don’t want to rush the construction process.
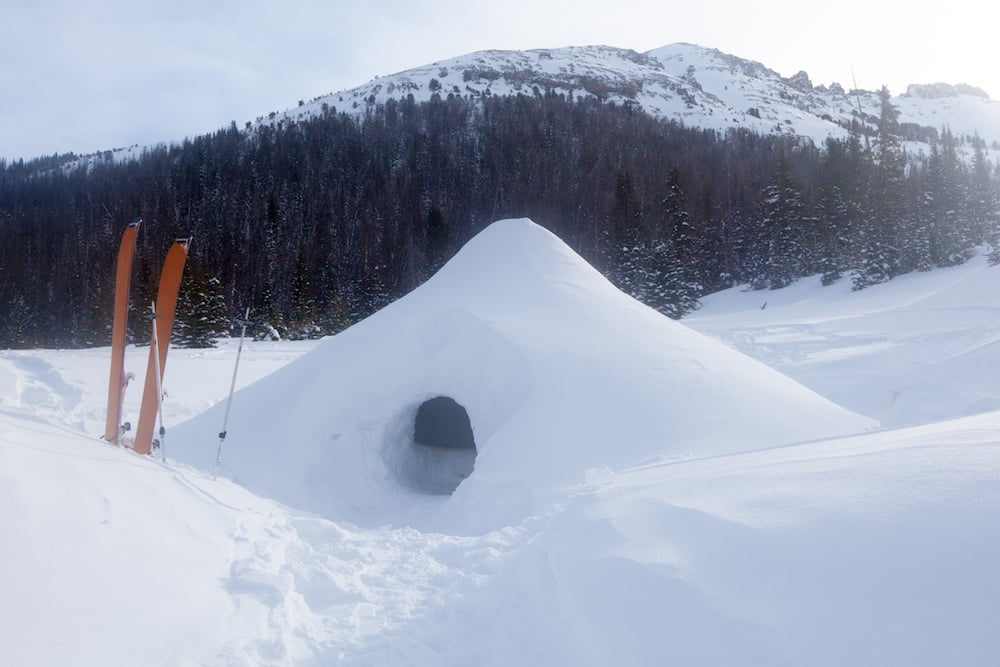
Assuming you’re somewhere in the northern hemisphere that isn’t the Arctic, the amount of snow and temperatures you encounter will vary wildly. The quinzhee is a great snow shelter option because you can make it anywhere there is snow to be shoveled. In short, a quinzhee is a shelter dug out of a mound of snow.
How to Build a Quinzhee
Getting started
- Select a safe campsite (consider avalanche potential, snow drifts, and trees that could blow over in high winds, among other variables).
- Shovel snow into a giant mound. You want the mound to be around 5-feet tall and have a diameter large enough for your tallest inhabitant to be comfortable while sleeping—don't forget a wall depth of at least a foot—which will mean 3-5 feet longer than the person's height (so likely a diameter of 7-10 feet).
- Pack the snow down as you shovel; you want a solid structure.
- In addition to the mound, create an extension on the lowest, downward-facing part of your structure. This will become your tunnel into the shelter and will help with warmth.

Sintering and scooping
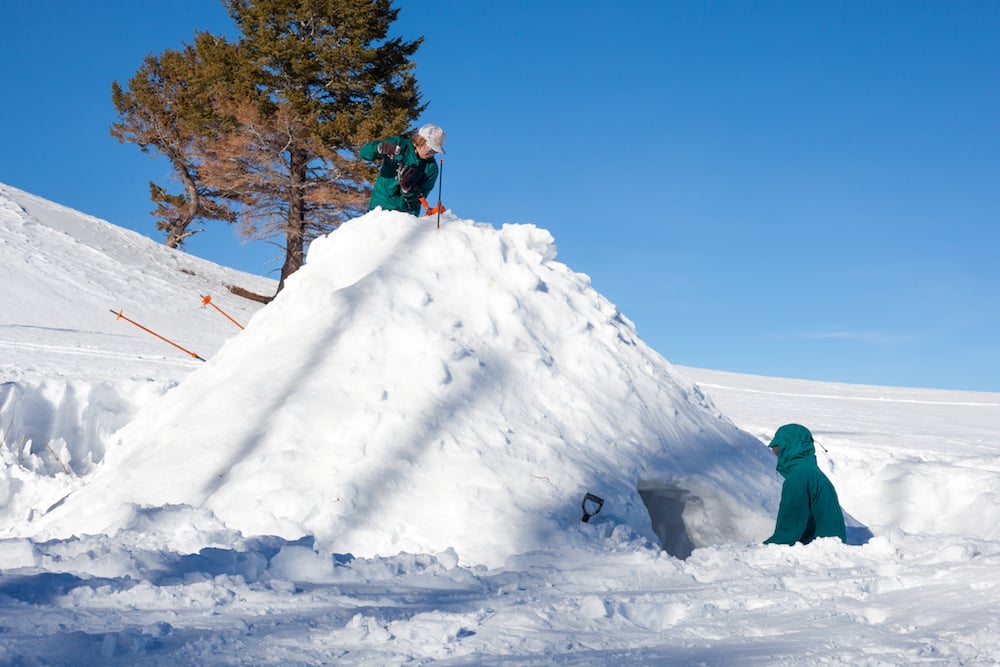
- Give your packed mound of snow an hour or more to settle. The technical term for this is “sintering."
- After the mound has sintered, you’re ready to scoop out the entrance tunnel and internal sleeping cavity. A word of advice: it's best to scoop out the interior of your shelter in pairs or groups, so at least one person can be outside in case the shelter collapses during construction. If you're alone, be sure to have an emergency personal beacon with you in case you become trapped inside and can’t dig yourself out.
- Gently scoop the snow out of the interior of the structure. This isn't a fast process. Don't "dig" or "pry," as you might create unintentional weaknesses in the walls of your shelter.
- The size of your entrance tunnel only needs to be as large as necessary to slither in on your stomach and to pass your gear in and snow (while building) out. Some people building quinzhees skip the tunnel completely or build it after the main structure. The weather and how much time you have will likely be part of this decision-making process.
- The walls of your shelter should be at least one foot thick, but two feet if possible. You can judge this thickness by inserting your ski poles into the top and sides of the dome to your preferred depth. When you're carving out the interior of your shelter, you'll know you're at the correct depth when you encounter the end of your pole.
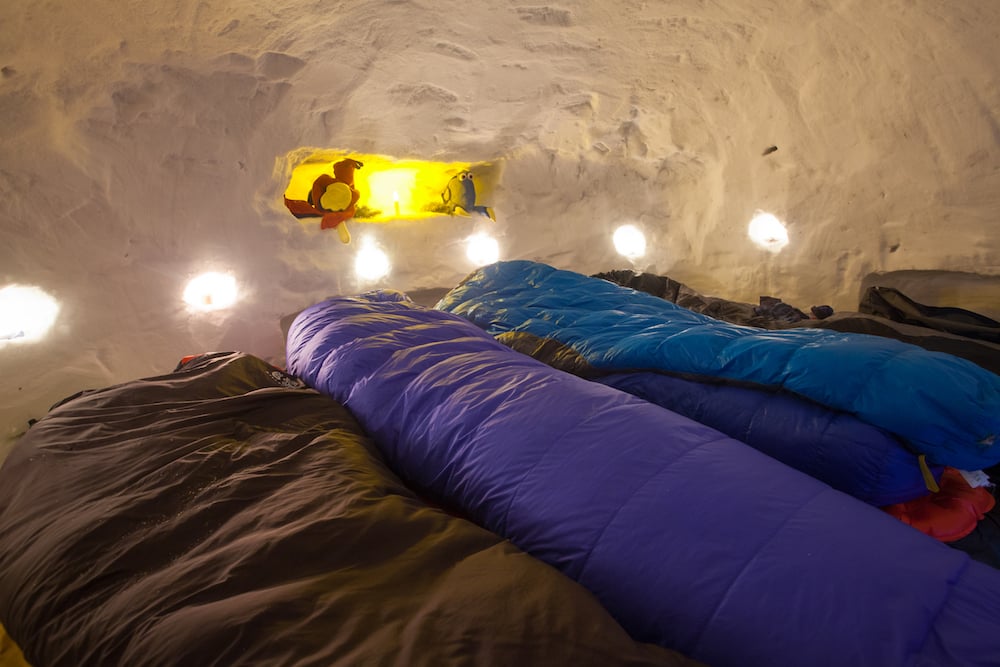
- Don’t scoop out all the snow from the interior. Leave some snow on the ground to make a floor and sleeping platforms that are higher than the bottom of the tunnel. This also will help retain heat inside the structure.

Venting and sintering, part II
- Remove the ski poles and carefully fill in the holes they made with new snow.
- Your shelter will need a ventilation hole at the top of the shelter that goes all the way through the structure. This hole improves ventilation, which helps moves fresh air through the structure and reduce humidity. The ventilation hole should be a few inches in diameter (4 inches at 30ºF, 2 inches at 0ºF, and 1 inch at -30ºF). Check the vent hole regularly to make sure it remains open. You also can pack up snow around the vent on the outside of the quinzhee to protect it a bit from the wind—just be sure not to get snow into your vent.
- Wait an hour or more for the structure to sinter.
- Move into your new snow structure!
Pro tips from NOLS winter instructor Molly Hagbrand
- Work the snow hard. Really pack it. Stomp it with your boots or skis. The only way to make any snow structure last longer is to work harden it.
- Leave the walls thicker at the bottom than the top (the top still needs to be thicker than a foot or more).
- Make the inside of the walls smooth to avoid condensation. Any edges inside will collect moisture and drip. I shape as much as I can with a shovel and then I use the backside of my glove to finish it off and make it super smooth.
- Most importantly, make it cozy. Make shelves for decoration, lights, shoe storage, and so on. I have brought fairy lights that I hung over a few sticks I put into the wall and strung it up on.
- And don’t forget a good meeting space outside your quinzhee, like a fire pit and couches, which are always nice to finish evenings around.
Final Wisdom
- Don't cook or use any open flames inside your snow shelter. Cook outdoors and use LEDs inside.
- Sleep near your shovel, in case there is a storm or partial collapse and you need to dig out.
- Practice! If you live somewhere it snows, build a quinzhee in your yard. Build an outdoor kitchen!
- For even more winter camping know-how (like how to build a snow lodge!), check out NOLS Winter Camping and Allen and Mike’s Really Cool Backcountry Ski Book.
Enroll in a winter course where you can practice your snow shelter building skills!

