Blisters, a common occurrence in the outdoors whether you’re day hiking, through-hiking, or not even hiking at all, can be debilitating. Blisters are caused by friction—imagine your foot rubbing the wrong place in your boot, or the skin on your hands rubbing on a canoe paddle.
Luckily, preventing blisters is fairly simple as long as you pay attention to what your skin is telling you and keep an eye out for the warning signs, as outlined by NOLS Wilderness Medicine.
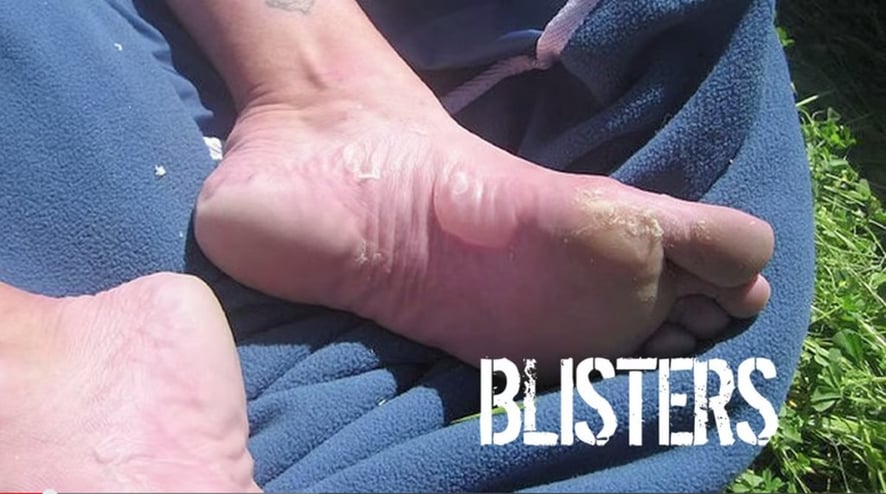
Blisters are painful, but preventable. Photo from NOLS Mythcrushers video.
Warning Signs of Blisters
Before you get a full blister, you’ll see (and feel) a red, sore area called a "hot spot." If the friction continues on the hot spot, your epidermis (layers of skin) separates and fluid enters the space, causing a blister.
When you feel a hot spot start to form, it may feel like a waste of time to make the group stop so you can care for it. However, being proactive from the beginning is much better than the alternative of needing to care for a large and painful blister.
How to Prevent Blisters
- Make sure boots fit properly.
- Wear two pairs of socks to decrease friction on the skin, and make sure your socks are free of debris and dirt.
- Check your feet (and your friends’ feet!) frequently at rest breaks.
- Stop the motion and attend to the hot spot at the first sign of rubbing.
- Before you start your activity, apply a solid piece of moleskin or athletic tape to areas that you suspect may cause problems later.

A well-stocked first aid kit can be the difference between managing a hot spot and getting a large, painful blister. Photo from the NOLS Store.
How to Treat Hot Spots and Blisters
Sometimes, all the prevention in the world can't stop a blister from forming. Here's what to do when that happens:
Hot Spots
- Cut a circle-shaped piece of moleskin and center it over the hot spot as a buffer against further rubbing.
Small Blisters
- If a small blister has already developed, cut a doughnut-shaped piece of molefoam (thicker than moleskin) and center it over the blister. This creates space between your skin and whatever was causing friction. The doughnut “hole” also prevents the adhesive from sticking to the tender blister and ripping it away when you change the molefoam.
Larger Blisters
If the blister is nickel-sized or larger, drain it.
- Begin by carefully washing your hands and putting on rubber or latex gloves.
- Clean the area around the blister to decrease the risk of infection.
- Use a needle that has been soaked in an antiseptic solution, such as povidone-iodine, or has been heated until it glows red, then cooled.
- Insert the needle at the base of the blister, allowing the fluid to drain from the pinprick.
- After draining the blister, apply an antibiotic ointment and cover the area with gauze.
- As with an intact blister, center a doughnut-shaped piece of molefoam over the drained blister and gauze.
- Follow up by checking the blister every day for signs of infection.
*Make sure to pack athletic tape and moleskin or molefoam in your first aid kit so that you’re prepared to treat hot spots before they turn into blisters.
Learn more about blister care and prevention with NOLS.
Take a look at some of the treatments mentioned above in our Mythcrushers video: