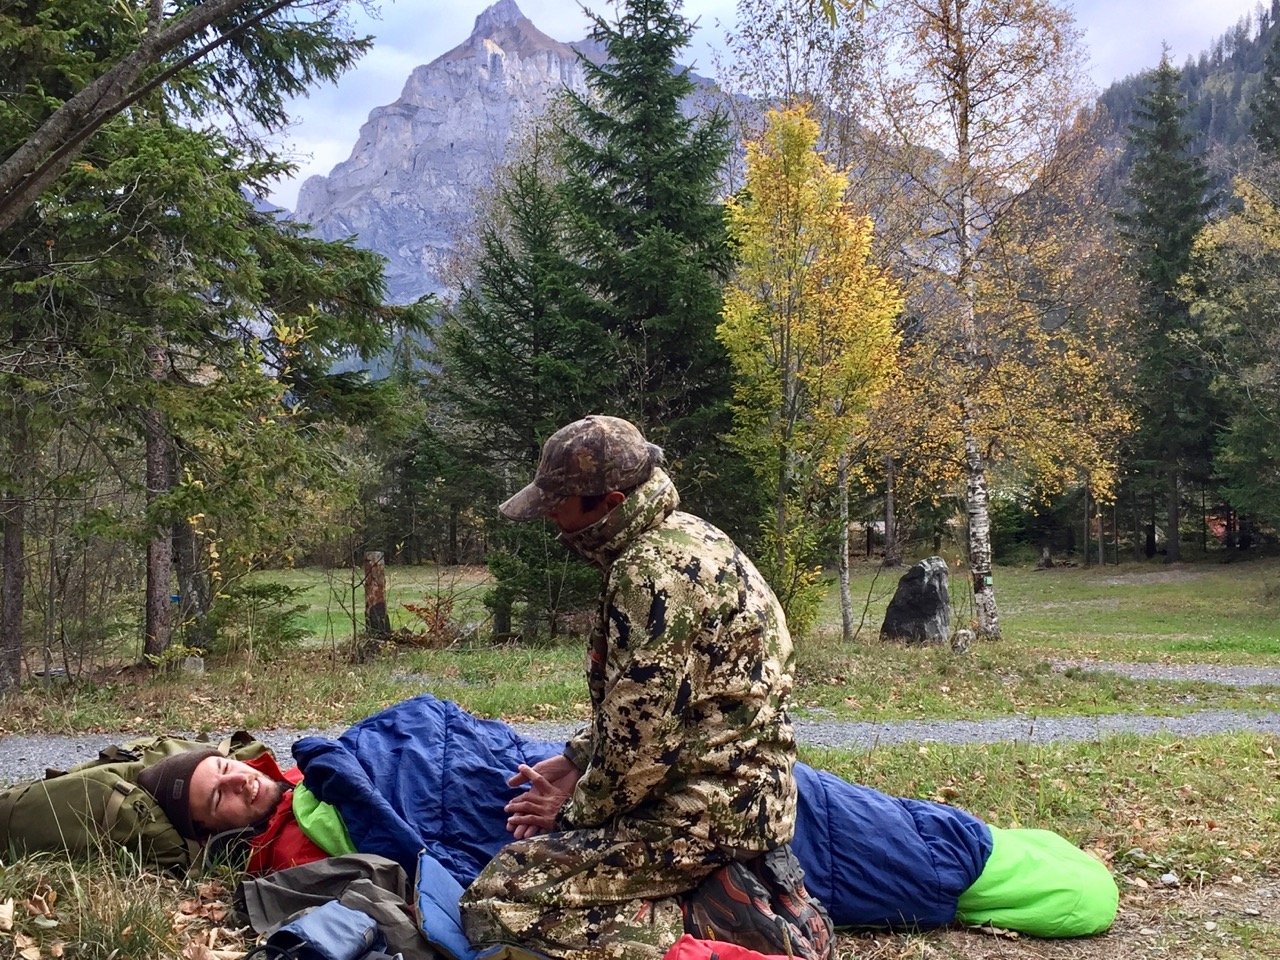
Your weekend adventure in the mountains takes an unexpected turn when you spot a fallen hiker beside the trail. Fortunately, after a brief moment of panic, your wilderness medicine training kicks in and you complete a thorough scene size-up.
Now it’s time for the next step: the initial assessment.
The initial assessment checks the airway, breathing, and circulation; looks for serious bleeding; and includes a decision on possible spine injury and exposure of obvious injury. We use ABCDE (airway, breathing, circulation, disability, expose) as a memory aid for this part of the patient assessment system.
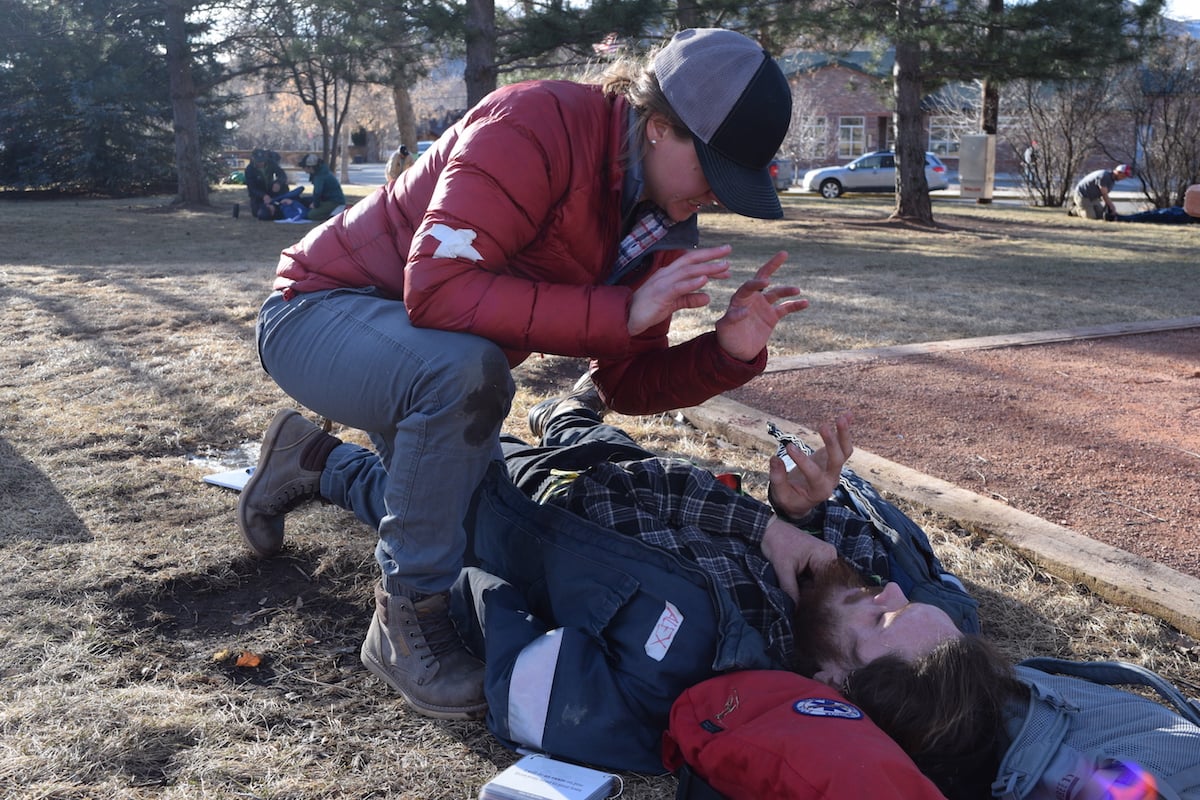
Before you dive into the ABCDE sequence, start by establishing responsiveness and obtain consent to treat.
Establish Responsiveness & Consent to Treat
As you approach the patient, introduce yourself and ask if you may help. You’re obtaining consent to treat, being polite, and finding out if the patient is responsive.
Ideally, you have a brief conversation with the patient who, if they agree to allow you to help, will have given informed consent.
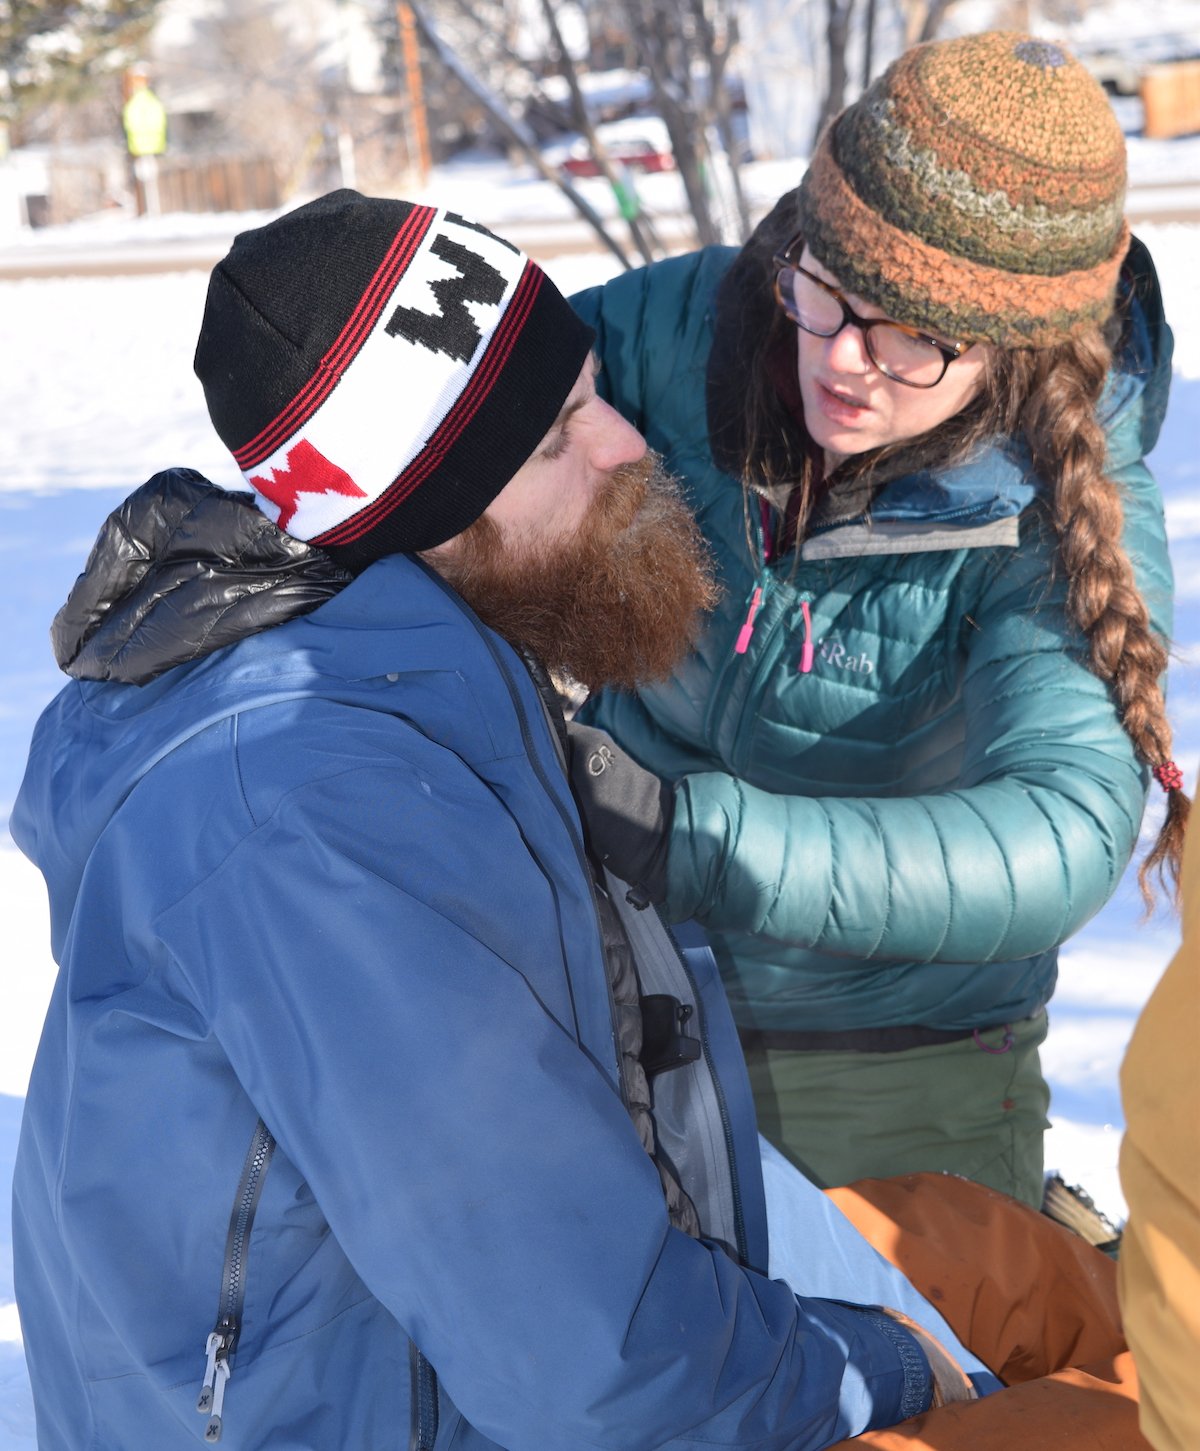
Assess for Verbal or Pain Response & Stabilize Spine
If there’s no response, say hello loudly. If this fails to arouse the patient, try a painful stimulus, such as pinching the shoulder or rubbing the breastbone. Permission to treat an unresponsive patient, or a patient with altered mental status, is given through the legal concept of implied consent.
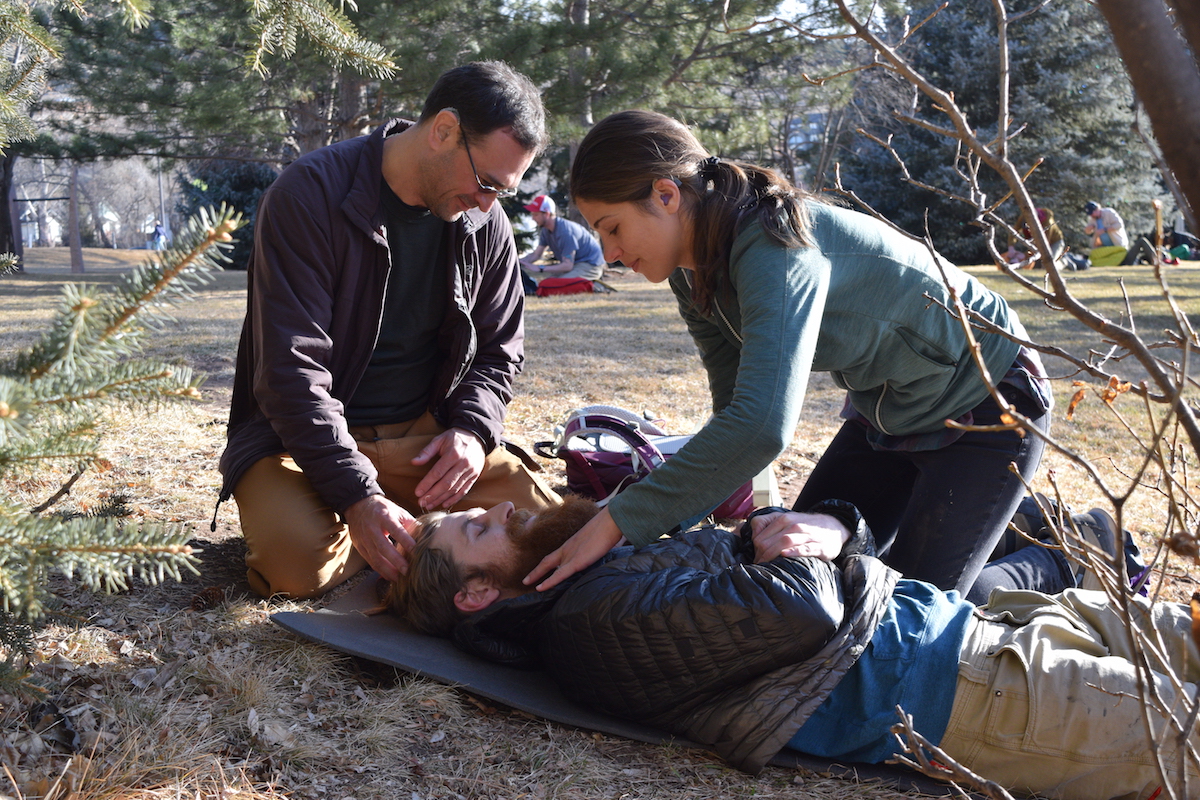
At this point, an obvious or possible mechanism for spine injury would require protection of the spine. Place hands on the patient’s head to prevent unnecessary movement of the neck, and avoid moving the patient.
Now it’s time for ABCDE.
A: Assess the Airway
- Open the airway
- Look in the mouth and clear obvious obstructions
The airways, consisting of the mouth, nose, throat, trachea, and bronchi, are the path air travels from the atmosphere into the lungs. An obstructed airway is a medical emergency because oxygen cannot reach the lungs, a condition humans can tolerate only for a few minutes.
Ask the patient to open their mouth and check for anything that could become an airway obstruction, such as chewing gum or broken teeth. If the patient is unresponsive, open the airway with the head-tilt-chin-lift method or the jaw thrust, and look inside the mouth. If you see an obvious obstruction—a piece of food, perhaps—take it out.
If you can see, hear, or feel air moving from the lungs to the outside, the airway is open. A patient making sounds is able to move air from the lungs and past the vocal cords. This indicates that the airway is at least partially open.
Signs of an obstructed airway are lack of air movement, labored or noisy breathing, use of neck and upper chest muscles to breathe, and pale gray or bluish skin. If you discover an airway obstruction, attempt to clear the airway before proceeding to assess breathing.
The appropriate techniques for treating a foreign body-obstructed airway are those taught in Basic Life Support (BLS) or cardiopulmonary resuscitation (CPR).
B: Assess for Breathing
- Look, listen, and feel.
- Expose chest injuries.
If the patient is awake, ask them to take a deep breath. If the patient’s breathing is labored or painful, expose the chest and look for life-threatening injuries.
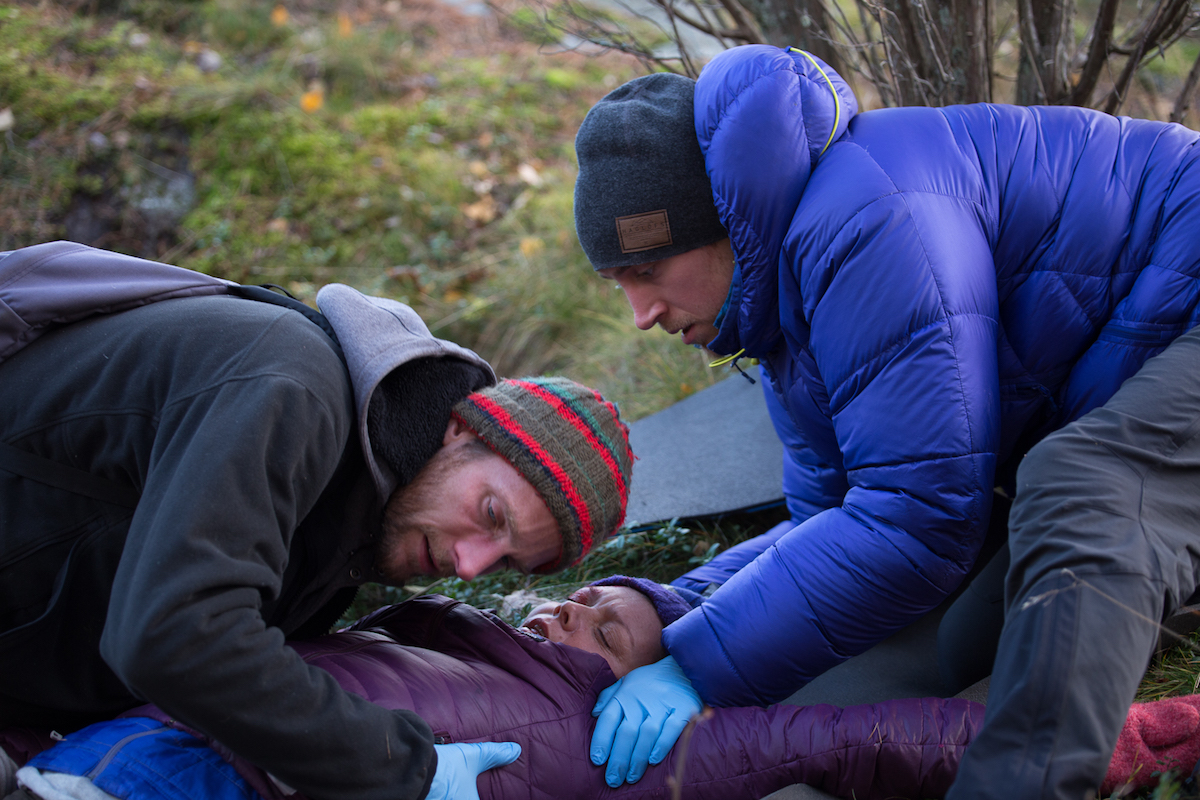
If the patient is unresponsive, look for the rise and fall of the chest as air enters and leaves the lungs. The abdomen also moves as we breathe, as the diaphragm rises and falls. Listen for the sound of air passing through the upper airway. Feel for the movement of air from the patient’s mouth and nose on your cheek.
If the patient is not breathing, give two slow, even breaths, then check for a pulse.
C: Assess for Circulation
- Check pulse at the neck.
- Look and sweep for severe bleeding. Control life-threatening bleeding.
Check for the presence or absence of a pulse. Place the tips of your middle and index fingers over the carotid artery for at least 10 seconds. The carotid is a large central artery accessible at the neck.
Other possible sites for a pulse check are the femoral artery in the groin and the radial artery in the wrist (preferable for a responsive patient).
Finding a pulse is not always easy. It may be difficult to feel a weak pulse in a patient suffering from shock or cold. If you are unsure about the presence of the carotid pulse, try the femoral or the radial pulse.
If the patient is moving, moaning, coughing, or breathing, they must have a pulse. If there is no pulse and none of those signs of life, start CPR. If there is a pulse but not breathing, start rescue breathing.
Severe bleeding can be fatal within minutes. Look for obvious bleeding or wet places on the patient’s clothing. Run your hands over and under the patient’s clothing, especially bulky sweaters or parkas, to find moist areas that may be caused by serious bleeding.
Look for blood that may be seeping onto snow or the ground. Most external bleeding can be controlled with direct pressure.
D: Decision on Disability
- Decide if further spine protection is needed. If there’s a mechanism of injury for spine injury, maintain manual stabilization.
Make a decision on whether you need to continue to protect the spine. If there is no spine-injury mechanism, you can take your hands off the head. If there is a mechanism or you are unsure, your decision should be to continue to protect the spine.
E: Expose & Examine Major Injuries
- Expose and treat life-threatening injuries.
Without moving the patient, expose and examine for major injuries that may be hidden in bulky outdoor clothing. Unzip zippers, open cuffs, and look under parkas.
Now What?
Your initial assessment is complete! Do you remember what comes next in the patient assessment system?
Review the components of a head-to-toe examination.
Editor’s note: NOLS’ Patient Assessment System is designed to be used by individuals with appropriate training. Only provide care within the scope of your training.
Content adapted from NOLS Wilderness Medicine, 6th Edition and the Wilderness Medicine Handbook.